Simple crochet bucket hat – free pattern

Here you will find a free crochet pattern for a stylish bucket hat, perfect for summer adventures and festival vibes! This easy-to-follow pattern is the perfect project to make the most of your scrap yarn stash while adding a touch of handmade charm to your wardrobe.
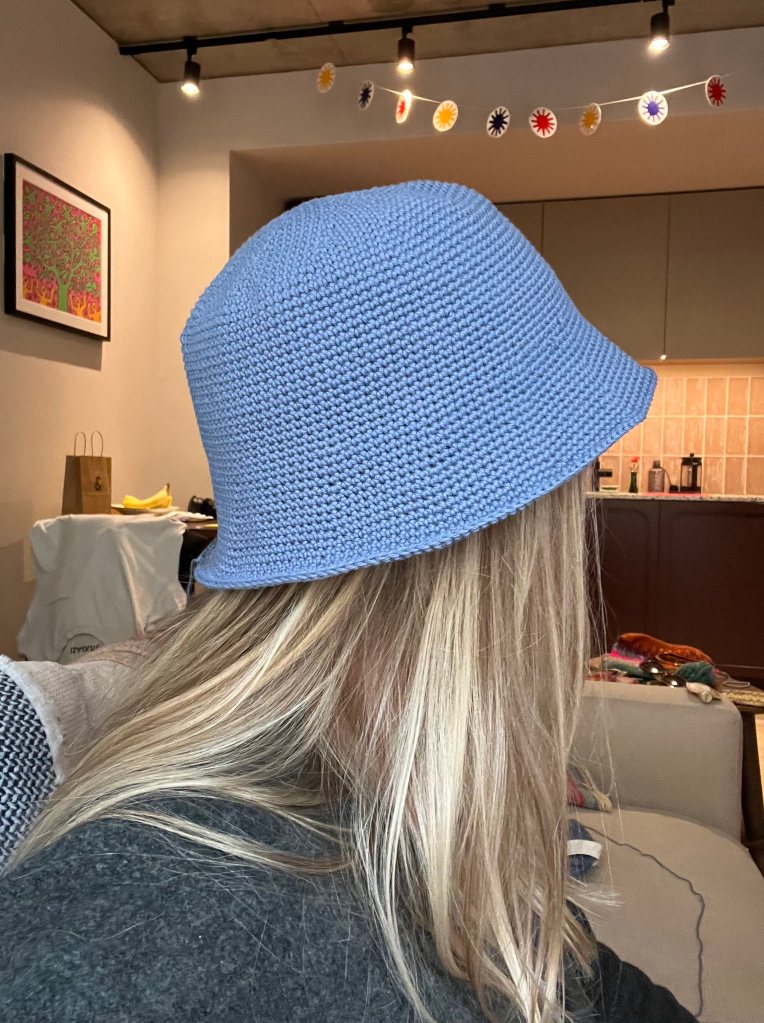
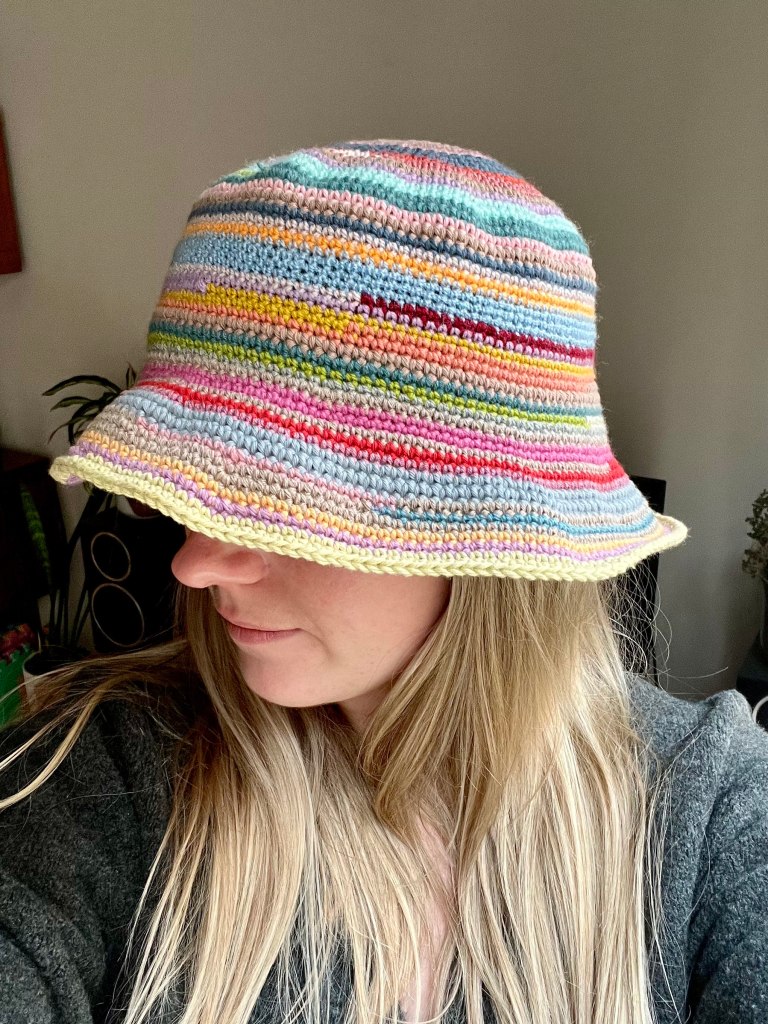
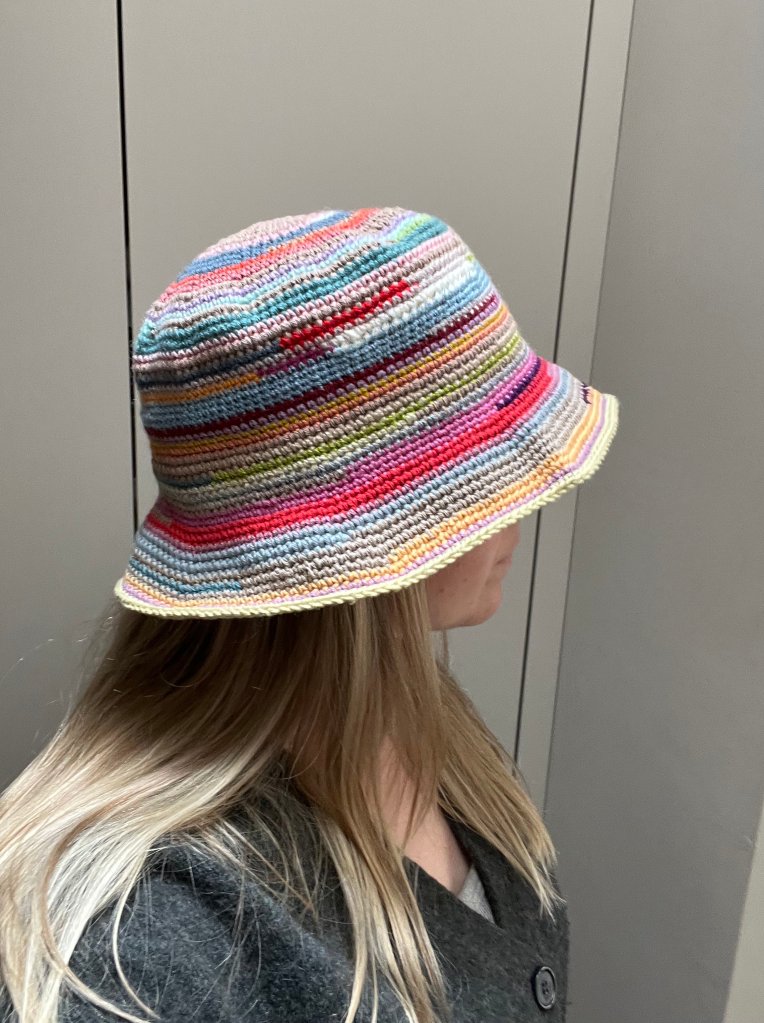
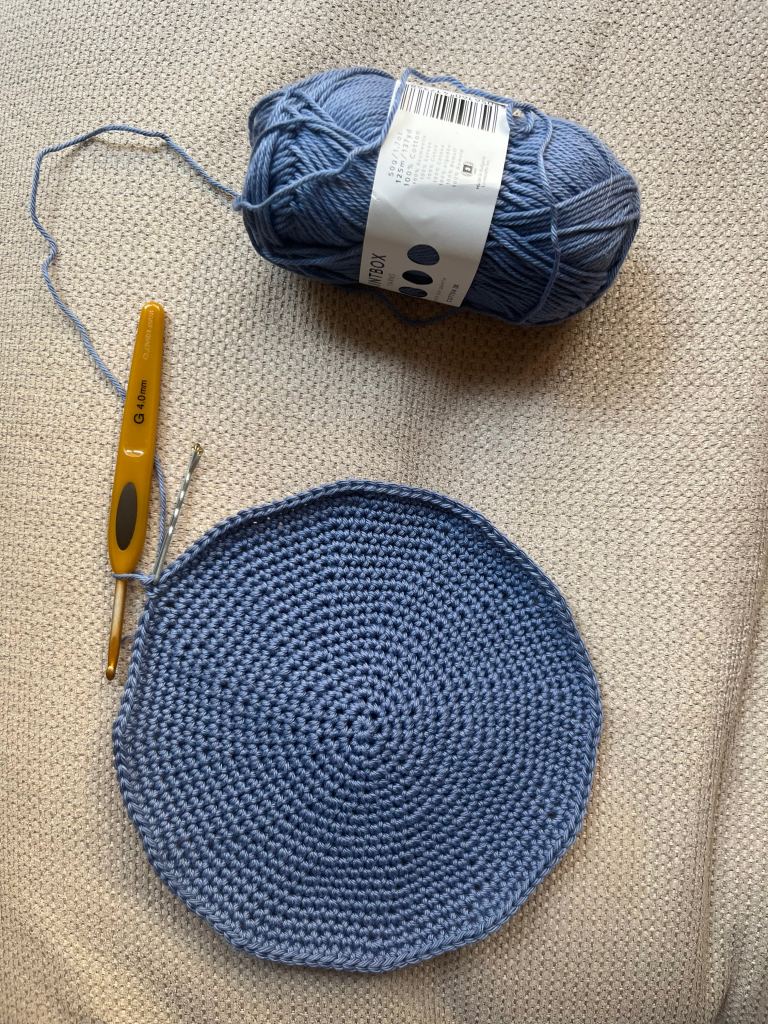
For the instruction photos I have used just one colour of cotton yarn in DK. The hats you see photographed that are multi coloured I made using scrap yarn, a mix of cotton, wool and acrylic and varying in weight from DK to chunky which gives it a more unique and organic look. I encourage you to experiment!
The pattern uses single crochet through out (sc) which is in US terms. where the pattern states ‘inc’ place 2 single crochets into the same stitch to increase.
What you will need:
- Cotton DK yarn. I recommend both Paintbox Yarns cotton DK, and King Cole Bamboo Cotton blend. Or, this project is perfect for using up scraps!
- A 4mm crochet hook.
- A stitch marker.
- Scissors.
- An embroidery needle to weave in ends.
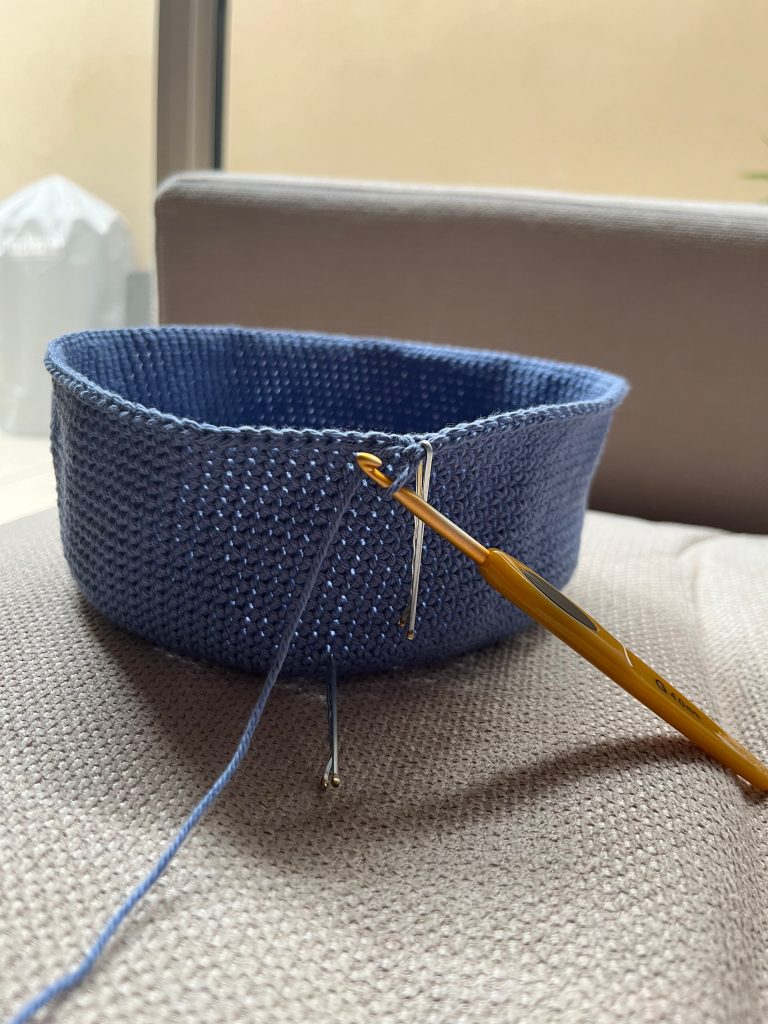
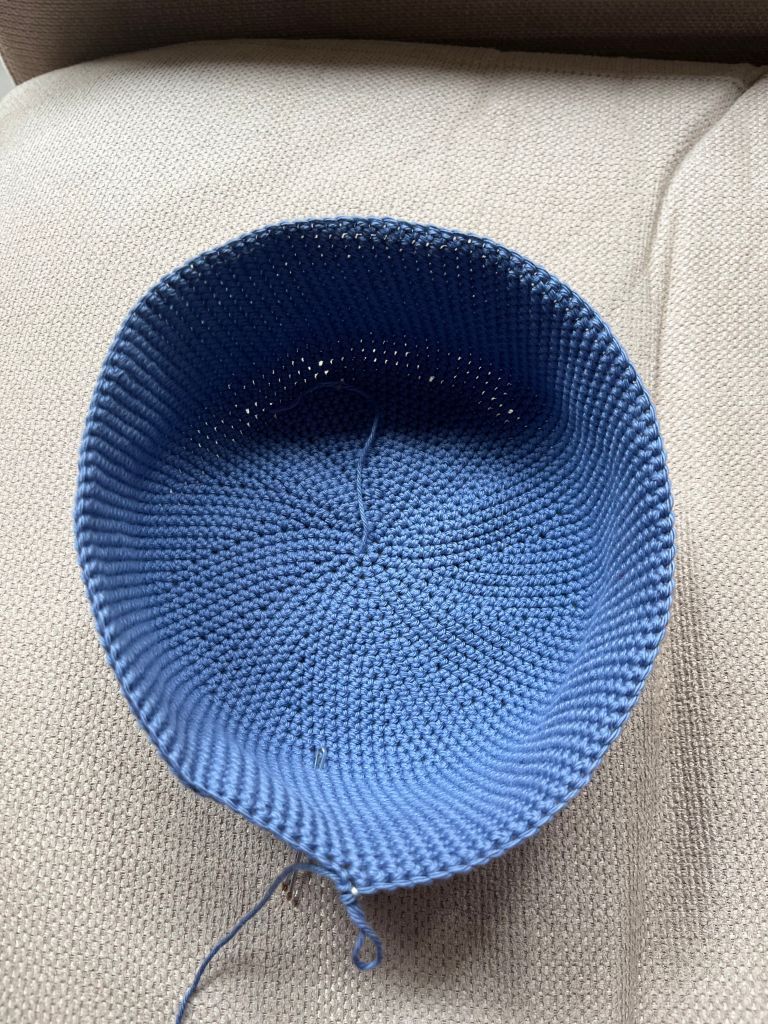
The whole hat will be worked in the round in spirals. Use a stitch marker to keep track of your rows.
Begin with the crown:
- Create a magic ring, SC 6. Pull magic ring closed. (6)
- Inc. in each st. (12)
- *Inc, SC* repeat 6 times. (18)
- *SC, Inc, SC* repeat 6 times (24)
- *Inc, SC3* repeat 6 times. (30)
- *SC2, Inc, SC2* repeat 6 times (36)
- *Inc, SC5* repeat 6 times. (42)
- *SC3, Inc, SC3* repeat 6 times (48)
- *Inc, SC7* repeat 6 times. (54)
- *SC4, Inc, SC4* repeat 6 times (60)
- *Inc, SC9* repeat 6 times. (66)
- *SC5, Inc, SC5* repeat 6 times (72)
- *Inc, SC11* repeat 6 times. (78)
- *SC6, Inc, SC6* repeat 6 times (84)
- *Inc, SC13* repeat 6 times. (90)
- *SC7, Inc, SC7* repeat 6 times (96)
If you have a bigger head, keep increasing by 6 each row following the same pattern above, and keep note of the number of sts between increases to continue from here when we get to the brim.
Next we stop increasing to give some length to the hat.
17 – 32. SC the whole way around. Repeat for all 16 rows. (96)
You can try your hat on at this point. If you need more length before the brim, continue with the above for a few more rows.
Now we start increasing again to create the brim of the hat.
33. *Inc, SC15* repeat 6 times. (102)
34. SC the whole way around (102)
35. *SC8, Inc, SC8* repeat 6 times. (108)
36. SC the whole way around (108)
37. *Inc, SC17* repeat 6 times. (114)
38. SC the whole way around (114)
39. *SC9, Inc, SC9* repeat 6 times. (120)
40. SC the whole way around. (120)
41. *Inc, SC19* repeat 6 times. (126)
42. SC the whole way around. (126)
43. *SC10, Inc, SC10* repeat 6 times. (132)
44. SC the whole way around. (132)
45. *Inc, SC21* repeat 6 times. (138)
46. SC the whole way around. (138)
47. *SC11, Inc, SC11* repeat 6 times. (144)
48. SC the whole way around. (144)
49. *Inc, SC23* repeat 6 times. (150)
50. SC the whole way around. (150)
51. *SC12, Inc, SC12* repeat 6 times. (156)
52. SC the whole way around. (156)
53. *Inc, SC25* repeat 6 times. (162)
54. SC the whole way around. (162)
Slip stitch into the first stitch in this round, fasten off and weave in your ends. (If you need a longer brim, continue in the same pattern, increasing by 6 every other row.)
You now have your very own handmade bucket hat!